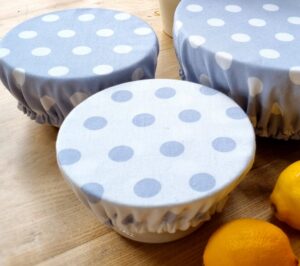
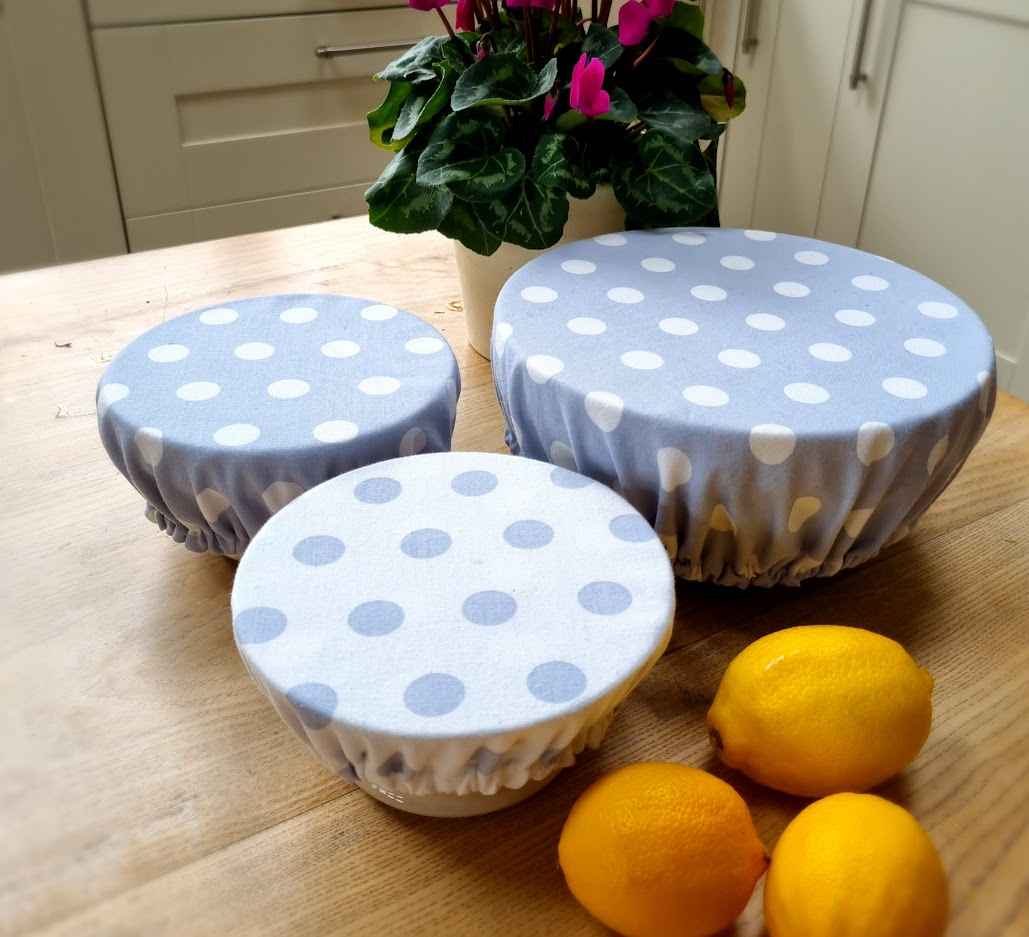
While beeswax food covers have become a popular alternative to plastic food wrap over the last few years, neither I nor my friends have ever particularly got on well with them. They can be messy and expensive to make, and the fact that you can only spot clean them doesn’t really fit well with my lifestyle choices, as they say (I do have a tendency to get mayonnaise everywhere). These practical fabric bowl covers are a great alternative, especially for summer when all sorts of flying monstrosities are trying to dive bomb your beautiful summer salads or fruity puddings. A batch can be knocked up in just an evening using fabric scraps, and best of all, they are fully machine washable.
If you have a spare, a reversible duvet cover or pillow case is perfect as not only will you have two colourways, the material will be the same weight on both sides so it will be easy to sew. The elastic was scavenged from a fitted sheet that I had already pillaged for rag rugs, so the only cost of making the ones pictured was my time. And patience. If, like me, your creative talents don’t naturally lend themselves towards accuracy with machine sewing, I would suggest starting with covers for larger bowls; it is far easier to sew around a wide bend than a tight corner.
Materials
Cotton fabric
Elastic (anything from 5mm up is great, mine was 10mm)
Safety pin
Sewing machine or needle and thread
- Turn the duvet inside out so the right sides are together and iron if necessary.
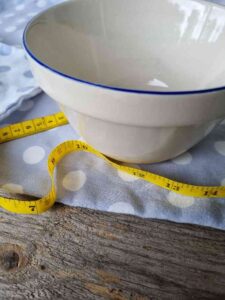
- Measure the width of your bowl and add on 10cms; my small bowl measured 13 cms so I hunted around and found a plate with a diameter of 23cms (slightly larger will also be fine).
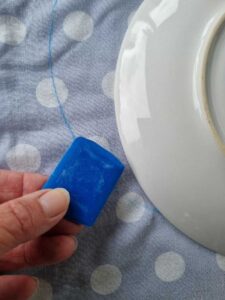
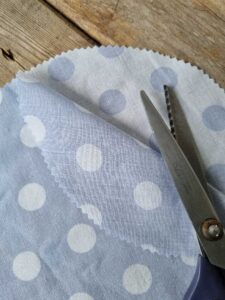
- Place the plate on the doubled up fabric, and draw around it with a pencil or tailor’s chalk.
- Cut out the two circles with pinking shears.
 Leaving a 1cm seam excess, place the two circles right sides together, pin in place and then sew around the circumference. Leave a 4cm gap at the end.
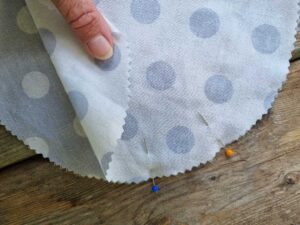
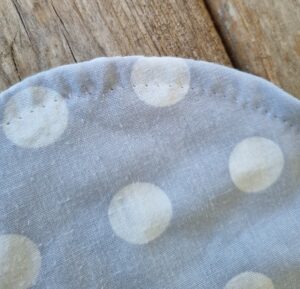
- Pull the stitched circles inside out through the gap, and then push the seam from the inside with your finger so it is a perfectly round shape. Press lightly if necessary.
- Starting 1cm in from the edge, sew all the way around the diameter of circle to make a channel for the elastic; finish back where you started as you don’t need to leave a gap this time.
- Measure your elastic around the bowl (about 4cms down from the rim), then cut it so it is 5cm shorter (this will ensure it sits tightly around the bowl).
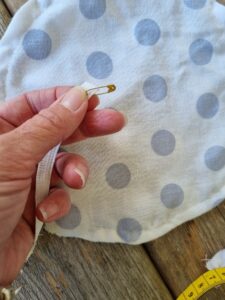
- Fix the safety pin to one end of the elastic, push it through the gap on the rim and then feed it through the channel until you reach the other end. You can tie a knot to fix it, but I think it is slightly neater if you stitch the two ends together, and it only takes a couple of seconds on the machine.
- Adjust all the ruching so it is evenly spread along the elastic, and then stitch the gap closed.