
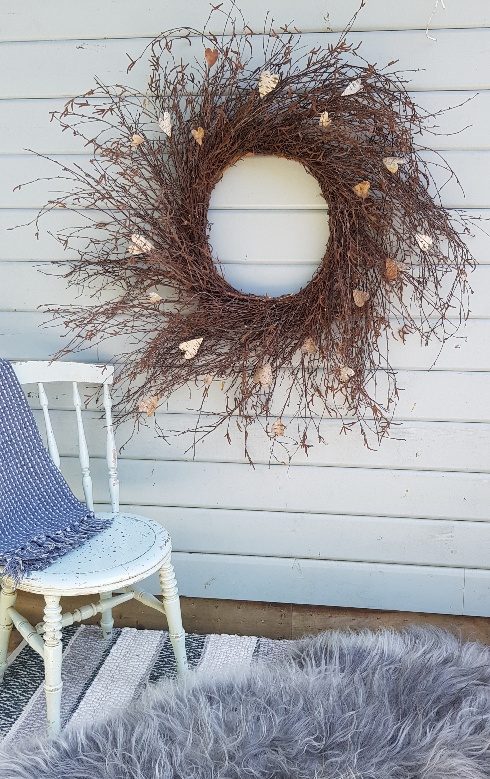
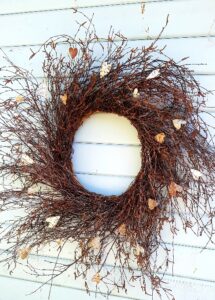
A stroll through the woods after high winds or a heavy winter storm can provide all sorts of materials for foraged decorations. This striking wreath was made from fallen silver birch twigs in a local nature reserve, and after a quick word with the ranger, he was happy for me to take as much as I liked. I also gathered a few pieces of birch bark that were lying on the path so snaffled those as well (don’t pull it off the tree as it can leave it open to infection).
The base for the wreath was made with green willow withies twisted into a ring, which can be cut in winter when the tree is free from leaves. If you are gathering them this way, bring them indoors for a few hours to warm up before you start to work as they will be much easier to bend.
Withies can also be bought online, and you can get a large bundle delivered quite cheaply which will last through lots of seasonal projects; I use Somerset willow, which is grown traditionally and harvested sustainably from large wetland beds on the Somerset Levels. In the winter green willow is available and this will not need soaking, but the rest of the year it may need to be immersed in water to make it supple.
For this large wreath, I used a willow base measuring approximately 40cms, and bundles of twigs that were between 50 and 60cms in length. This was left fairly simple with only a few bark hearts for embellishment for a wild woodland feel; however the whole structure is quite forgiving so you can slide in any berry sprigs or sprays of greenery as the mood takes you. (Taken from Craft Your Own Cosy Scandi Christmas by Becci Coombes, published by White Owl).
Materials (for a wreath measuring just over a metre in diameter)
6 willow withies or a ready-made wreath (a seven-foot long stem should give a lovely round form at least 30-40cms in diameter)
Bundle of birch twigs
Birch bark
Floristry reel wire
Garden twine
Scissors
Secateurs
Hot glue gun
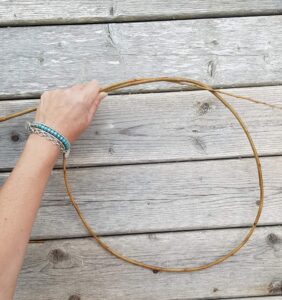
- To make the willow base, hold the cut end of one of the withies in your left hand and bend it round, looping it into the size of wreath you desire.
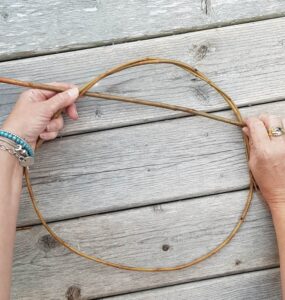
- Wind the tip around the back and then weave it round and round the form, heading to the right. Tuck the end in to secure.
- Turn your wreath roughly 60 degrees to the left, and repeat; stick the cut end in from front to back towards the left, leaving a little tail sticking out, then continue to wrap the tip around until you can go no further. Keep turning the wreath to the left, inserting a new withy, and then winding the tip to the right.

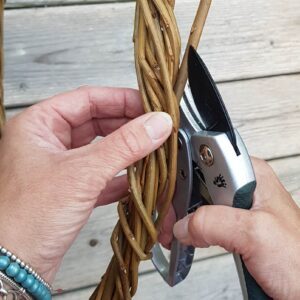
- After you have woven in six withies, you should be back roughly where you started. Now you can apply a little pressure where needed, gently easing the willow into a circular shape. When you are happy with it, snip the ends and tips off, always holding your secateurs at the same angle to make it look neat.
- Tie a piece of twine around the top of your wreath to make a hanging loop.
- Attach the reel of floristry wire to the base, then place a bundle of twigs on top and wrap the wire round the stems and base tightly a few times. Ensure the twiggy ends are poking out at an angle as this will give a lovely diffuse edge to the project; don’t worry if the thicker end is poking out as well, as these will also be wired in later.
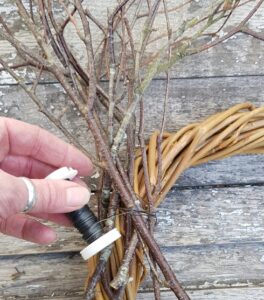
- Lay another bundle of twigs over the first bunch so they cover the stems and then wire tightly again.
- Repeat this all the way round, making sure you pull on the wire quite hard so it pulls the cut ends into the base, making it thicker and stronger.
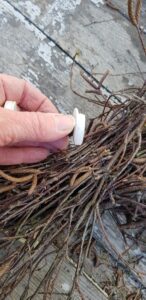
- When you reach the beginning, push the last cut stems underneath the first twiggy ends and wire them on at the back, finishing the wreath off neatly.
- Trim off any little sections that require tidying up. At this stage it is also very simple to fill in any gaps; simply cut smaller sections and slip them in between the twig stems and the wire.

- If it is quite dry and grubby, your bark may need cleaning before you can work with it. Soak it in water for 1-2 hours until flexible, and then scrub off any debris with a pan scourer.

- While it is still damp, cut into hearts, stars or any other design you fancy using a sharp pair of scissors, then leave to dry thoroughly (hot glue won’t adhere properly if they are still damp, and they may drop off when you least expect it). Cookie cutters make a great template so you get an even design, just draw round them in order to cut out the perfect DIY birch star.

- Add a blob of hot glue to the back of each heart and fix in place around the edges of the wreath.
Taken from Craft Your Own Cosy Scandi Christmas by Becci Coombes, White Owl Publishing.