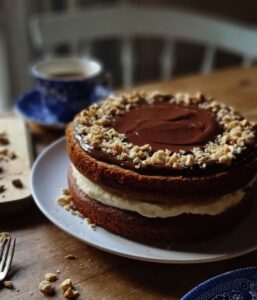
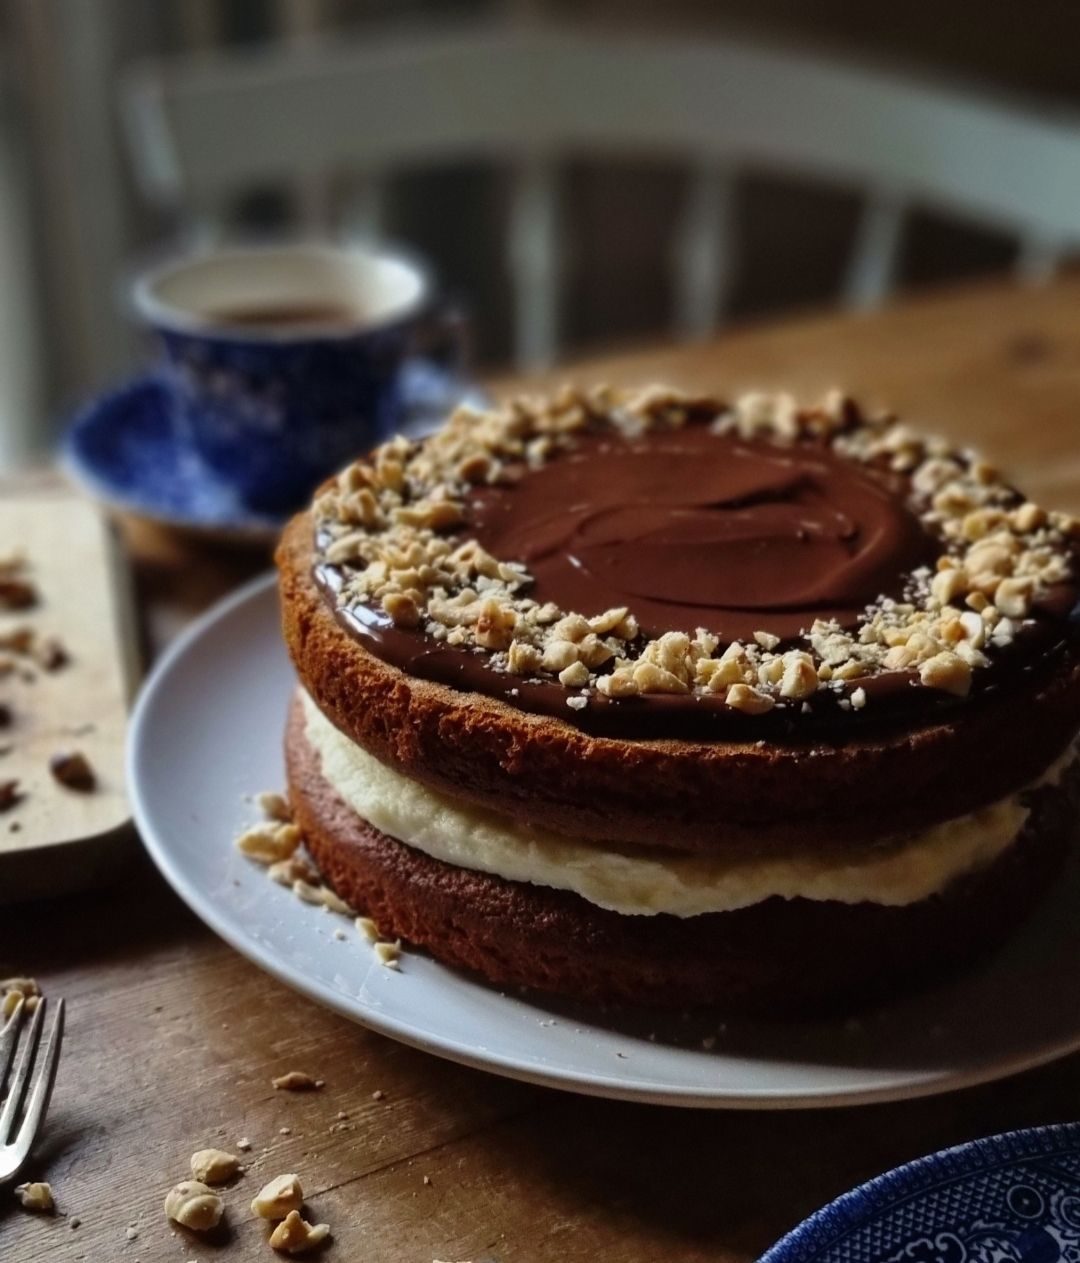
One of our favourite treats here at Hyggestyle, this delicious festive bake has all the overtones of a spicy and comforting lebkuchen, but in a cake format; although it features traditional festive flavours, we love to eat it this dense and slightly chewy bake all year long! Rather than buy a litre of buttermilk and then waste most of it, I often just make my own by adding 1 tablespoon of lemon juice to 120ml of milk and then setting it aside for 10 minutes until it thickens slightly. Find lots more fabulous Scandinavian Christmas traditions here or take a look at our top ten Scandi hygge recipes for Christmas!
Ingredients
250g plain flour
200g runny honey
100g sugar
125ml buttermilk
60ml sunflower oil
2 eggs
2 tsp mixed spice
1 tsp bicarbonate of soda
1 tsp baking powder
Zest of an orange
For the icing
200g icing sugar
100g butter (softened)
1 tbsp milk
For the topping
100g dark chocolate
1 teaspoon of butter
30g toasted hazelnuts, roughly chopped
- Preheat your oven to 175 degrees and grease and line two 17.5cm sandwich tins with baking paper.
- Gently melt the honey and sugar over a low heat in a large pan until the crystals have melted into a smooth syrup. Set aside to cool.
- Once the syrup is back to room temperature, whisk the eggs, oil and buttermilk into the syrup and beat well to combine.
- Combine the flour, bicarb, baking powder, orange zest and spices then gently fold carefully into the syrup mixture until smooth.
- Divide the mixture between the two pans and bake in the centre of the oven until cooked when poked with a skewer and springy to the touch (about 15-20 minutes); the honey can catch quite easily so it’s better to cook for longer lower down in the oven to avoid a scorched top!
- Leave the cakes for a little while before turning out and leaving them to cool completely.
- To make the buttercream, sift the icing sugar into a large bowl. Add the butter and beat until smooth, adding a tablespoon or two of milk if necessary to loosen the icing up a little.
- Flip one of the sponges over to give you a nice flat surface for decorating and sandwich the two cakes together with the icing.
- Place the butter and chocolate in a large ceramic bowl set over a pan of simmering water and slowly melt, stirring occasionally until smooth. Pour the mixture into the middle of the cake and gently push it towards the edges using the back of a spoon.
- Sprinkle over the hazelnuts and allow the topping to cool before slicing; to get a really neat slice, don’t push the knife down vertically! If you hold the knife perpendicular to the serving plate and then draw it towards the centre of the cake you will get a much cleaner slice as the icing won’t be dragged through the crumbs 🙂

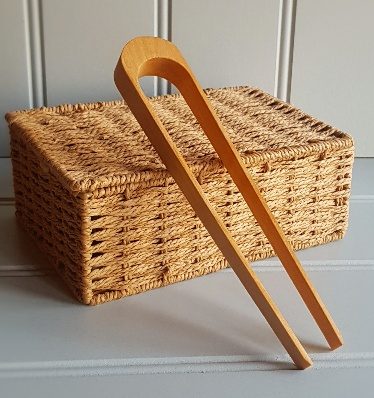
Swedish birch salad tongs
No more poking about with a fork to grab the last tomato! These handy little wooden kitchen tongs are hand-made in Sweden and are perfect for rooting around for the highlights in that mixed salad,


