
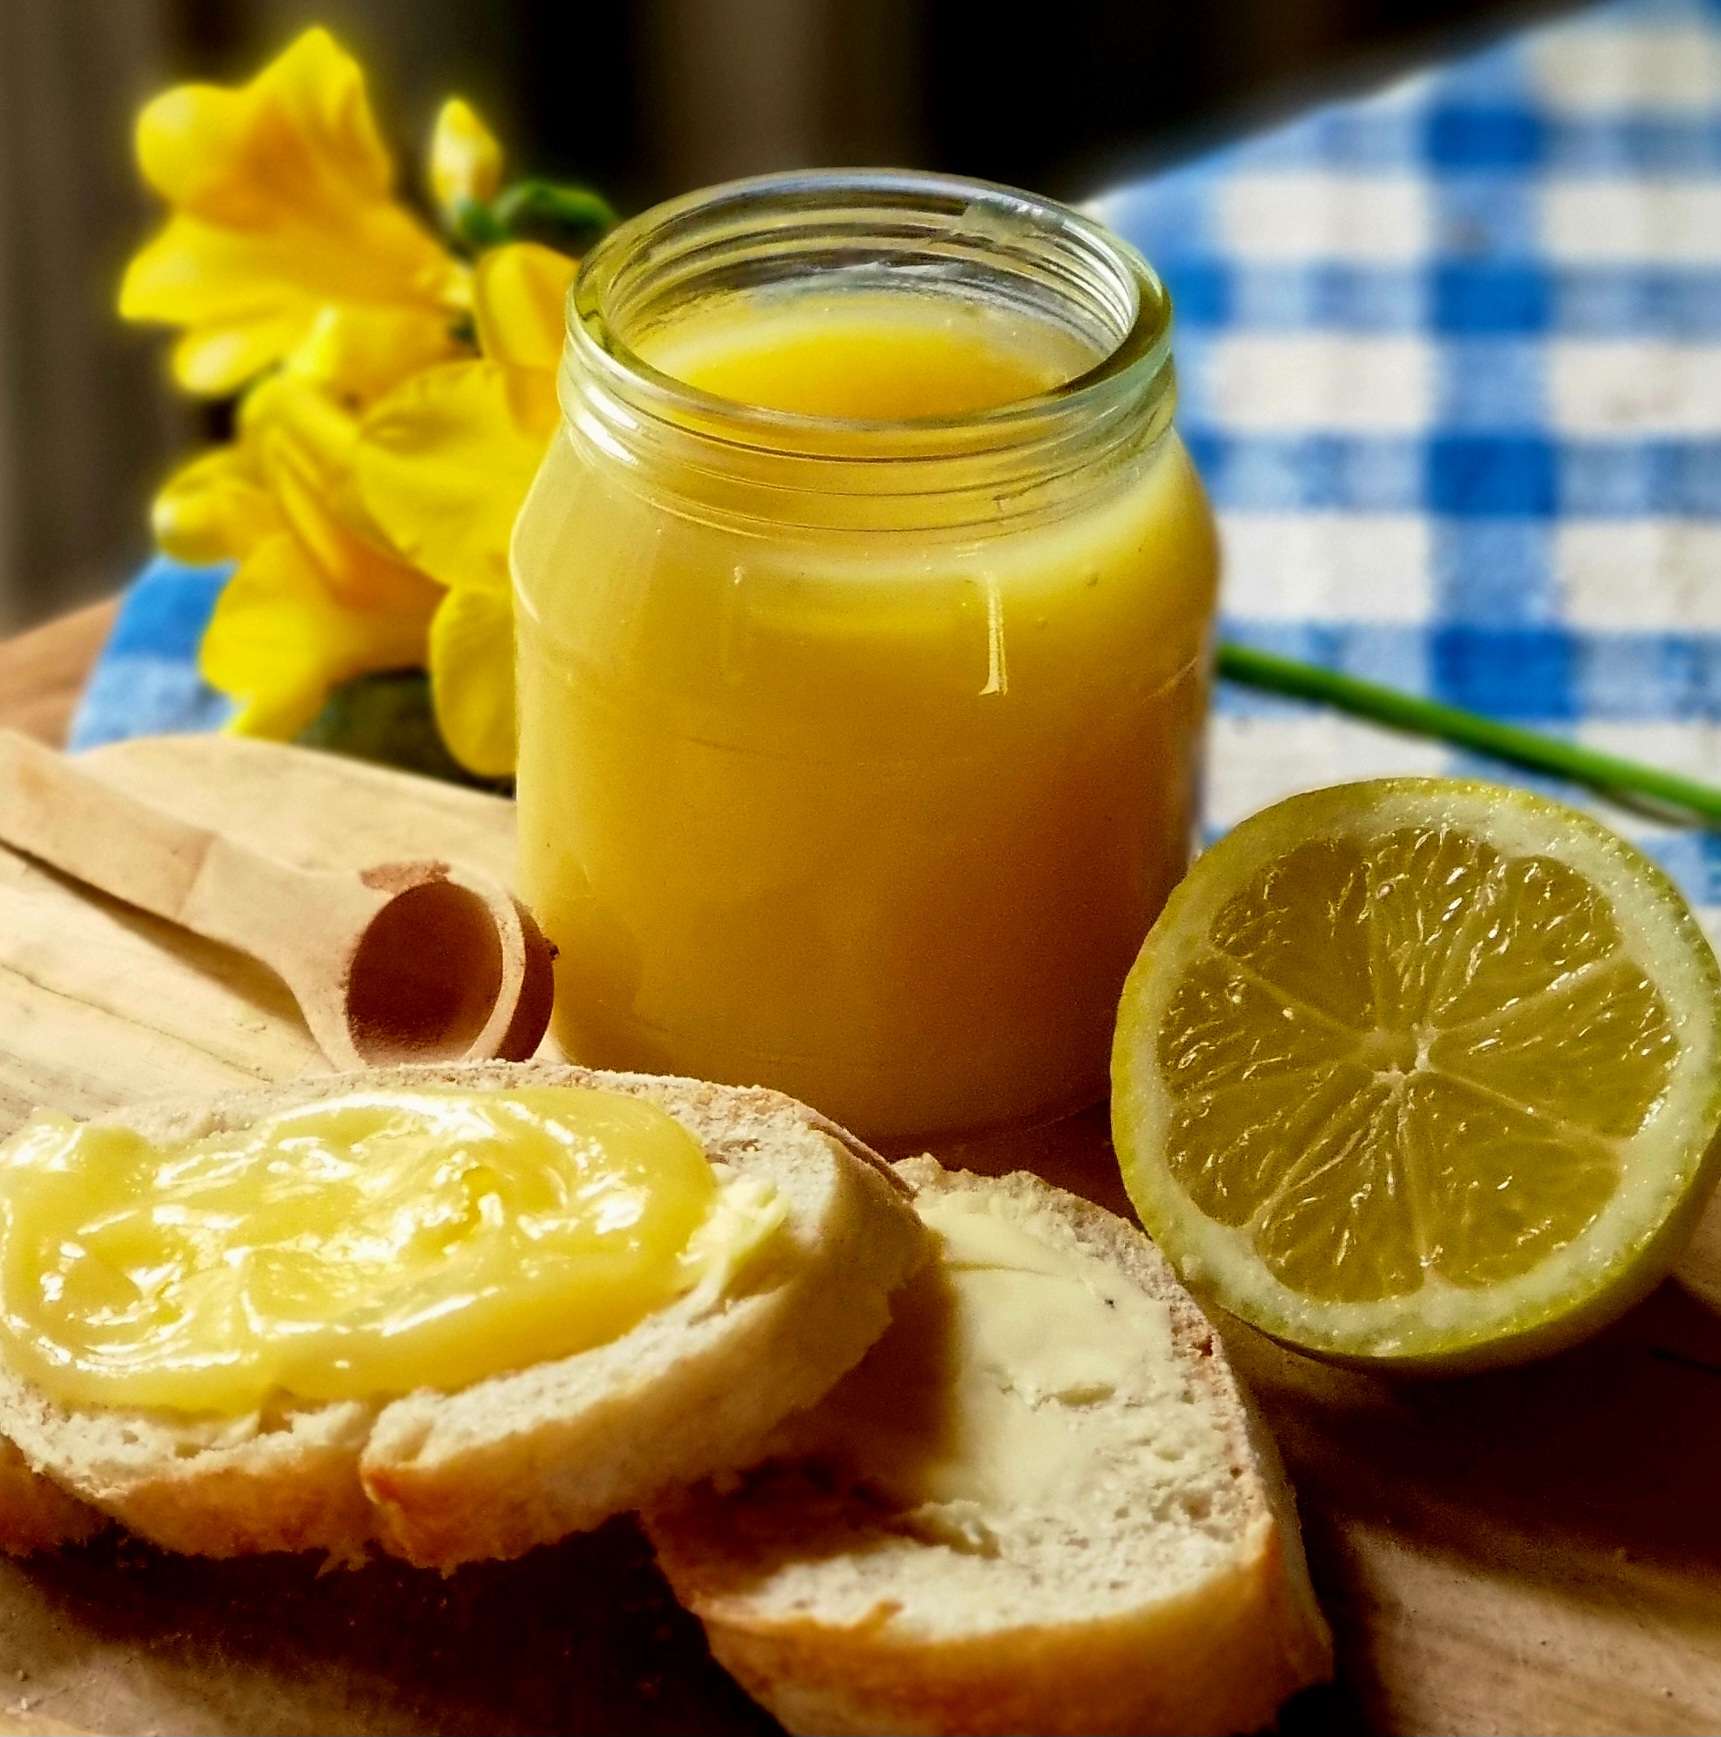

Home-made lemon curd is so much nicer than shop bought, and this recipe will add a lovely touch of Spring to your sponge cake, ice cream or meringue with the addition of a little elderflower cordial!
I’ve always thought of lemon curd as a bit of a fiddle to make, involving lots of messing around with a double boiler etc, but this recipe is an absolute breeze. The trick is to err on the side of caution and heat gently; if the mixture starts to scramble a little (you’ll see white lumps appearing) whip it off the heat, allow it to cool slightly, then continue at a lower temp. Although ideally the curd will be smooth, if it has a few little “issues” pour it through a colander while still hot to remove any lumps (much easier to clean up than a sieve!). This makes enough to fill a jam jar which will last 2-3 weeks in the fridge; plenty for sandwiching a sponge cake or making lemon curd cupcakes (with enough to eat on hot buttered toast for days after!).

Lemon and elderflower cordial curd
Ingredients
- 200 g caster sugar granulated is fine, but I am impatient and caster sugar melts more easily
- 50 g butter I like to use salted as it gives a little extra bite to the curd
- 3 eggs
- Either 2 lemons and 1 tbsp elderflower cordial OR 3 lemons, juice and zest
Instructions
- Whisk the eggs well in a jug.
- Add the butter, sugar, lemon juice, zest and cordial (if using) to a large pan and place over a low heat, stirring constantly until the mixture is smooth and the sugar and butter have melted.
- Remove the pan from the heat and slowly pour the well-whisked eggs into the saucepan in a thin stream, whisking constantly as you add them (this agitation will stop the eggs from scrambling).
- Turn the heat up a little and cook for 3 minutes or so until the mixture thickens up. It is really important you continue to stir the whole time, ensuring you reach all around the pan in order to stop the egg cooking too quickly; don’t let the curd boil!
- The mixture is ready when it has thickened into a custard, turned opaque and coats the back of a spoon; pour into a clean sterilised jar and allow to cool to room temperature before popping in the fridge to set. A small piece of baking paper laid across the top of the curd will help prevent a skin forming.
- The curd will last 2-3 weeks in the fridge or can be frozen for up to six months.