
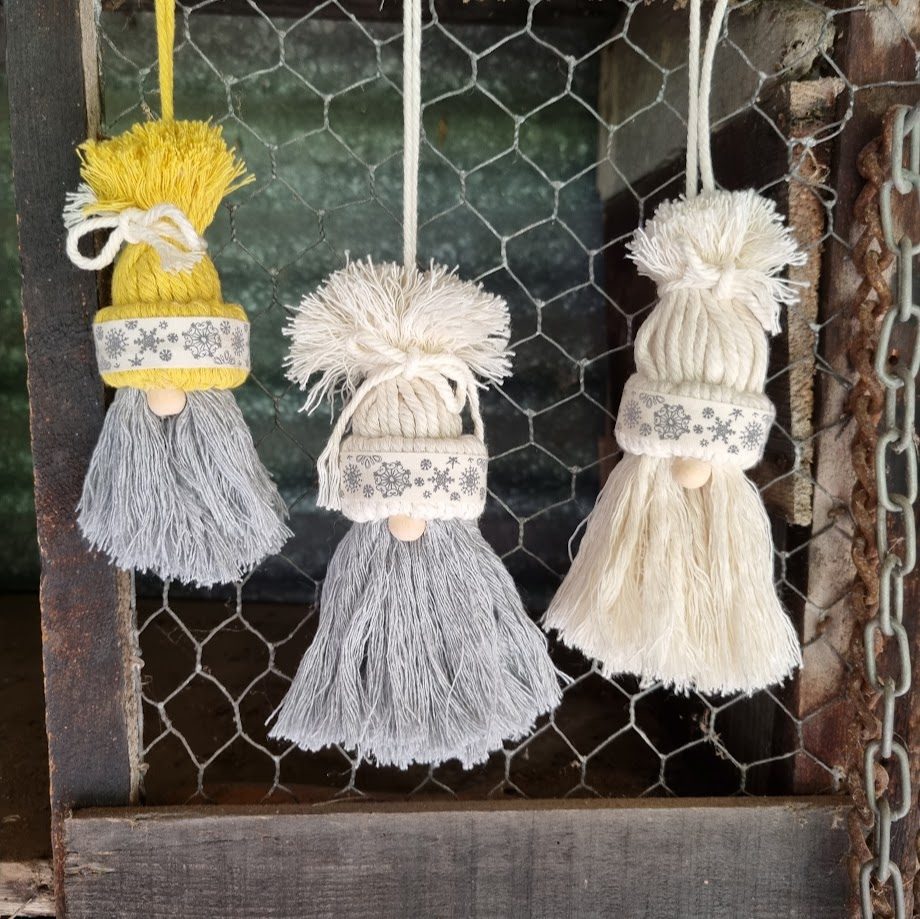
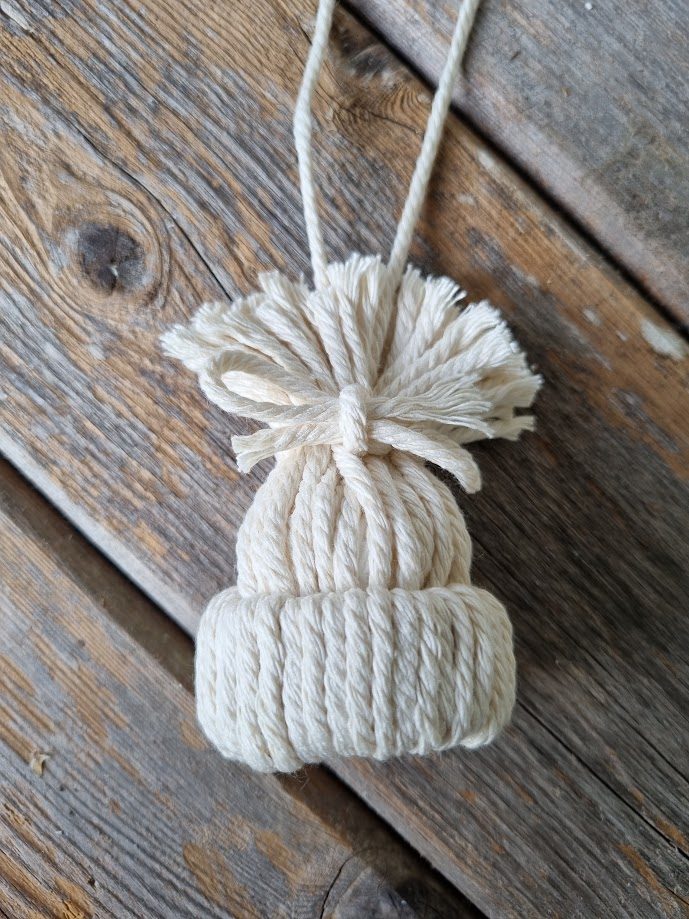
Have you ever wondered how to make Christmas decorations from household items such as loo rolls and string? Well, using the same materials as our beaded garland, and wire stars, a batch of these lovely neutral gnomes can be knocked up in an evening from soft cord, perfect for decorating your home all winter. Garden string or knitting wool can also be used, although for the latter more lengths will need to be used in order to cover the hat fully. The string can be measured using a tape measure and the pieces cut individually, but if you plan to make a couple of these little chaps then it is much quicker to make a cardboard template.
Materials
3mm cream macrame cord
10mm wooden bead
Cardboard toilet roll tube
Tissue paper or cotton wool ball
Cardboard
Hot glue gun
- Cut two pieces of cardboard, one 25cms and the other 20cm in length.
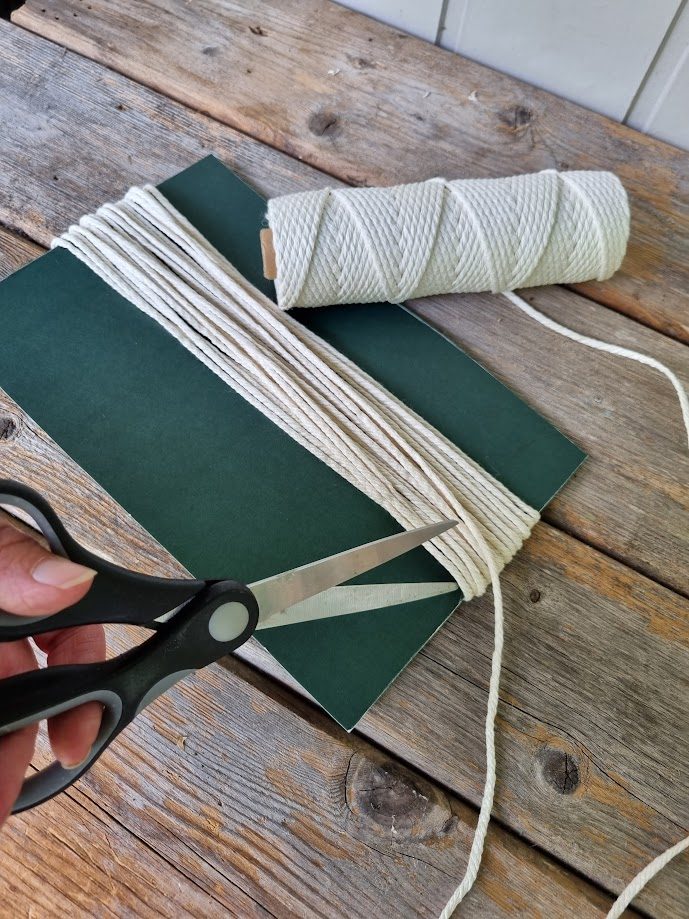
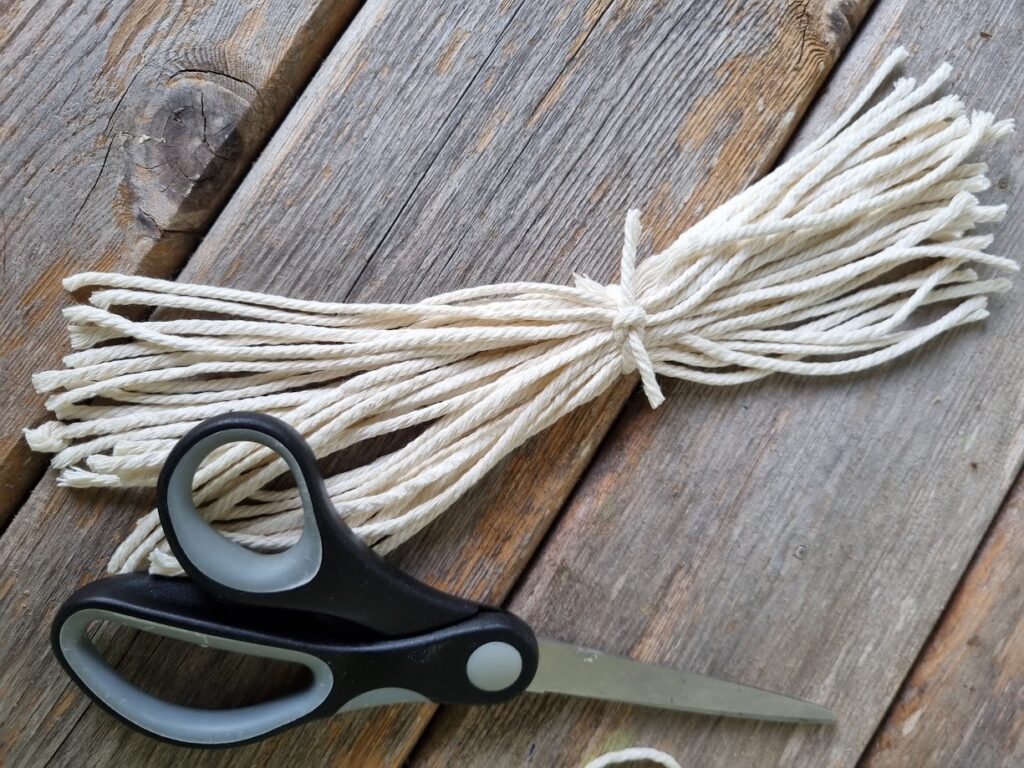
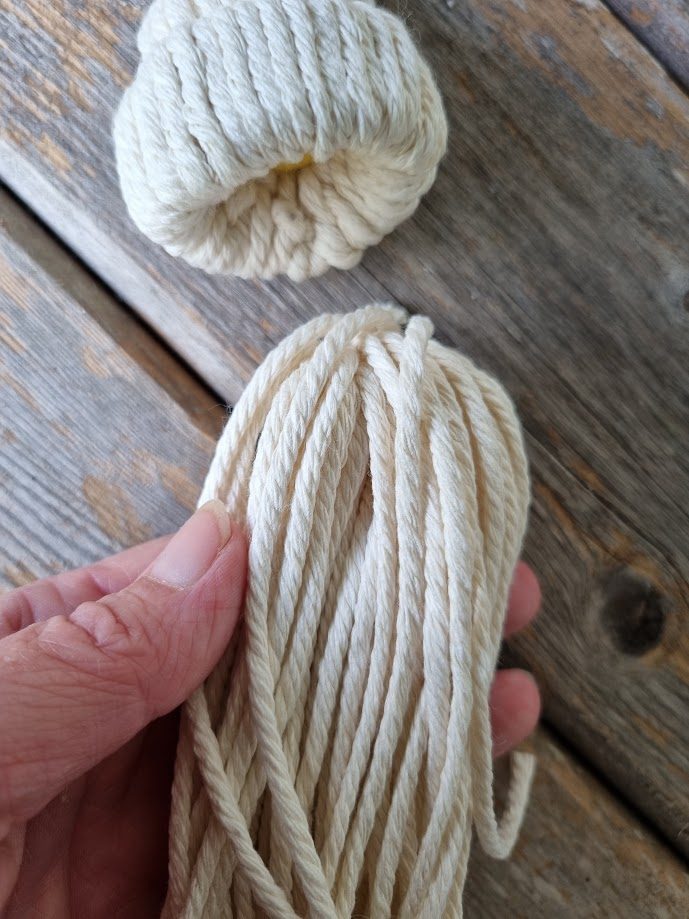
- For the beard, wrap the cord around the 25cm card fifteen times, and then cut both ends to make thirty lengths. Knot another piece around the centre of the bundle to tie it all together and set aside.
- Wrap the cord twenty times around the 20cm card and snip at one end to make the yarn for the hat (giving a 40cm length)
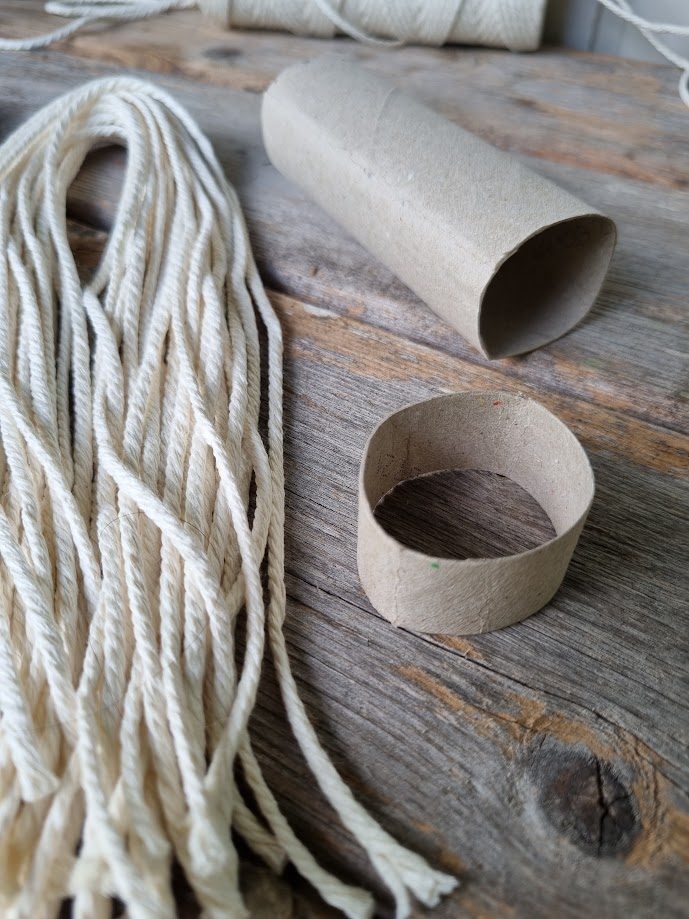
- Cut a 2cm section from the end of the loo roll.
- Taking a 40cm length of cord, fold it in half and push it through the cardboard ring.
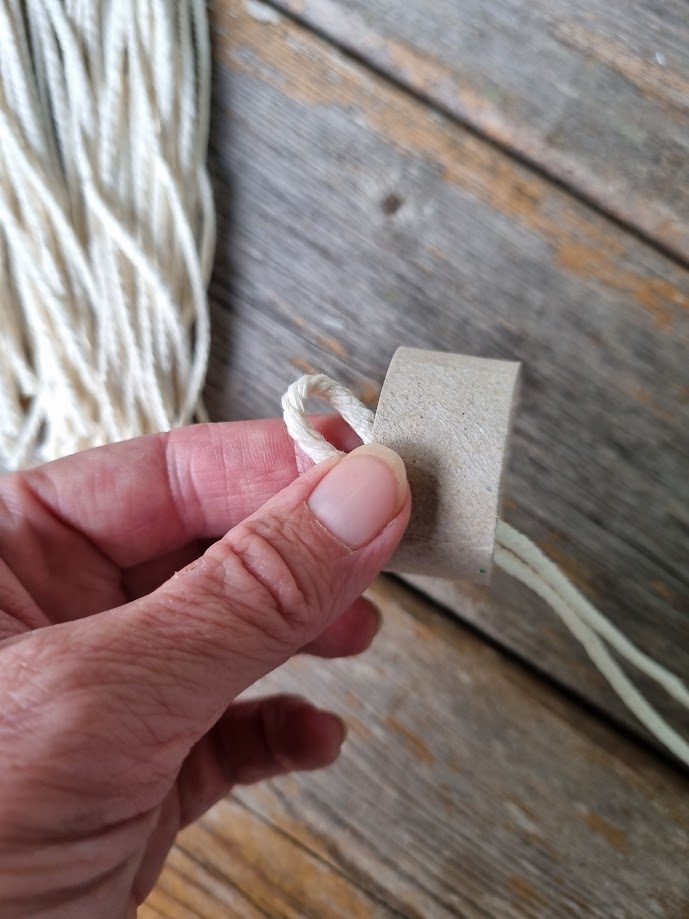
- Slip the two tails through the loop you have just made and pull tight.
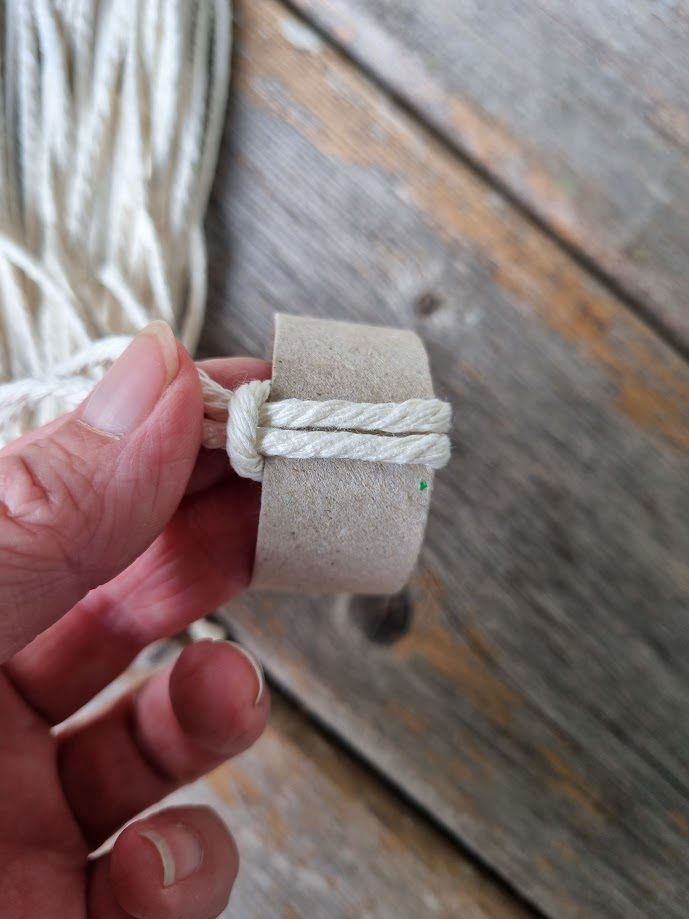
- Repeat with the other pieces.
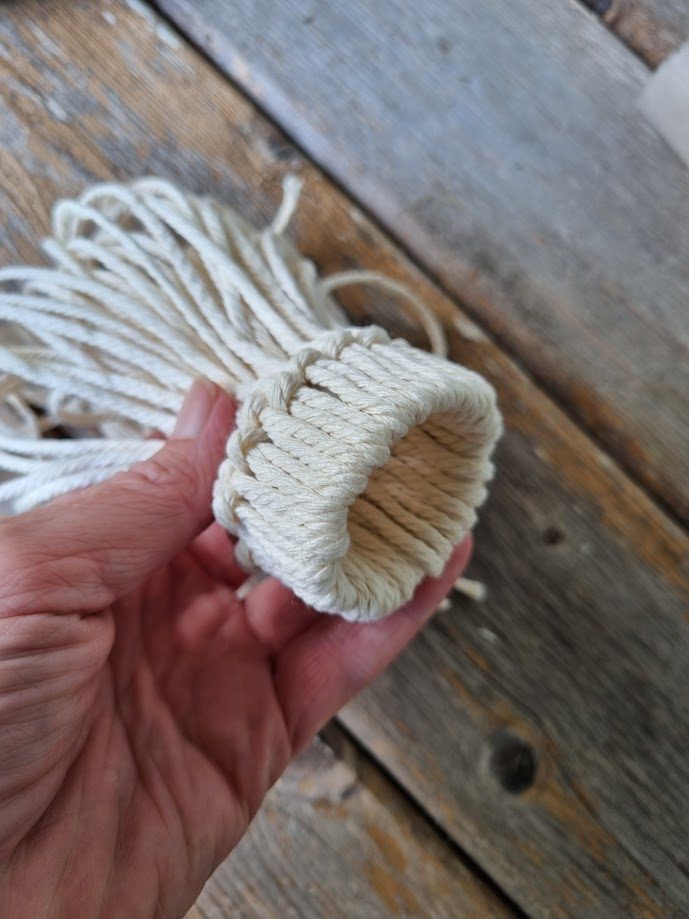
- Push all the tails back through the hat so they emerge from the other end, giving everything a wriggle so that the knots are hidden inside.
- Cut another 40cm section of cord, fold it in half and push it through the hat; glue the ends inside the cardboard ring to make a hanging loop.
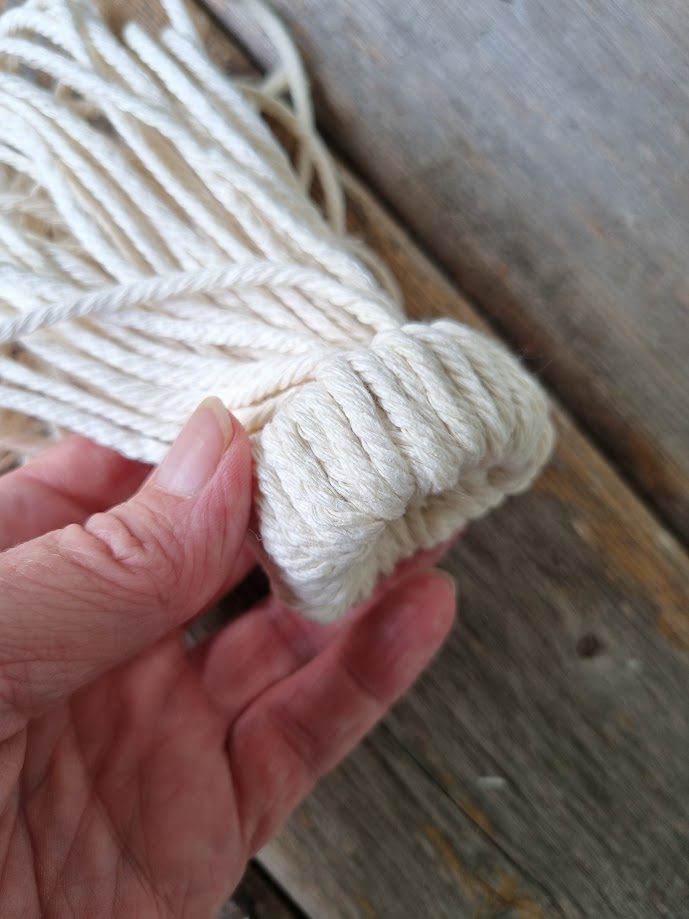
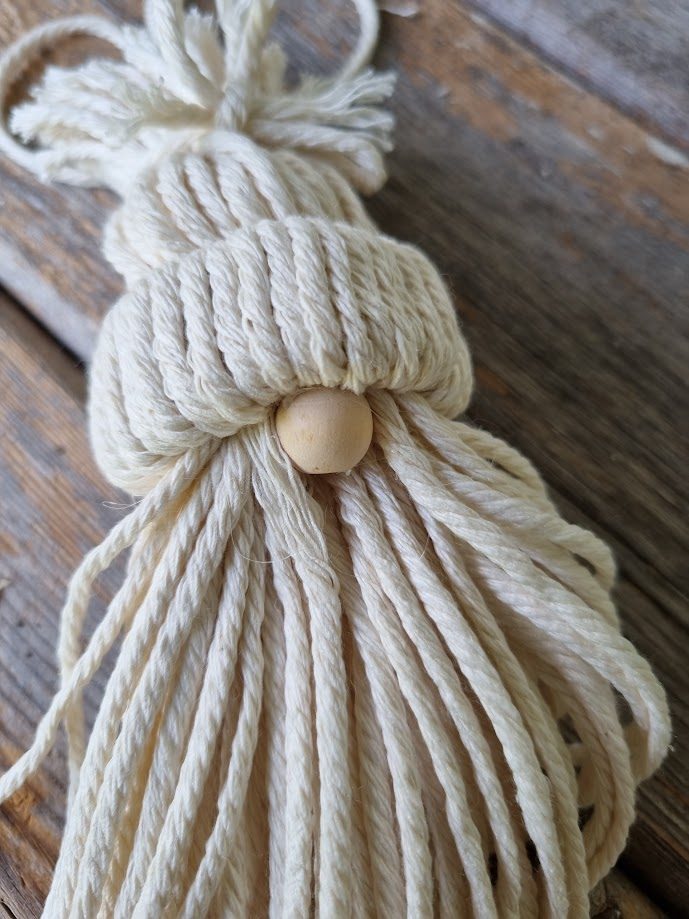
- Tie a little bow around the bundle, roughly 3cms up from the brim.
- Trim the top to make a pom pom for the top of your hat, taking care to bend the hanging loop out of the way so you don’t cut it off by mistake!
- Roll a small ball of tissue (or use some cotton wool) and push it up inside the hat to give it some shape. Squirt a generous blob of glue inside too, before folding the beard bundle in half and inserting it firmly into the hat.
- Add another little blob of adhesive onto one of the holes of the wooden bead and tuck it up under the brim to create a nose. Squirt a touch more glue on to the lower hole and push it into the beard to secure.
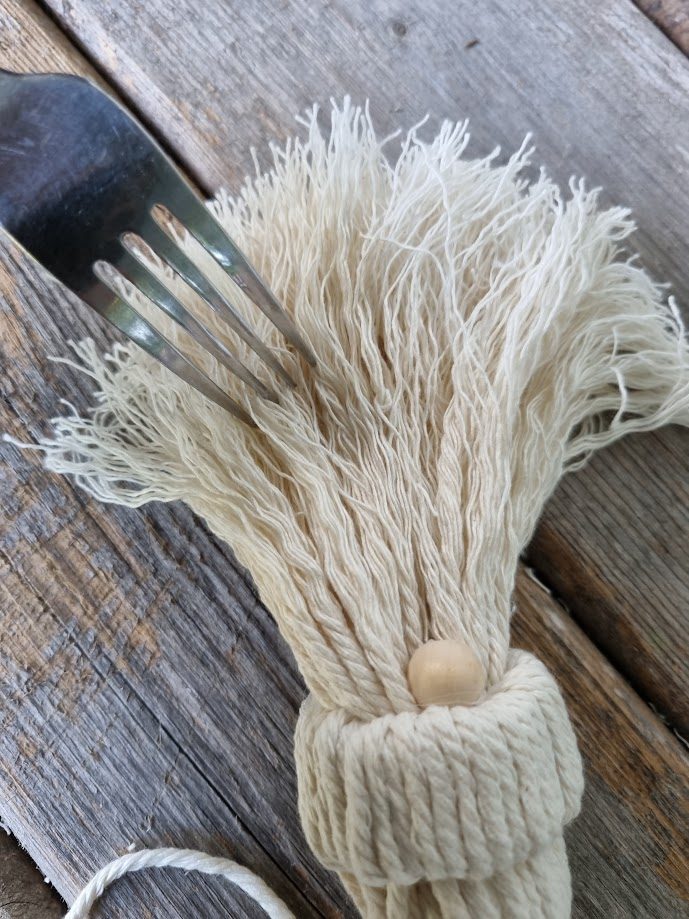
- Spread the beard out and cut it to shape with sharp scissors, before combing it out to make it fluffy. If you don’t have a macrame comb, a pet brush or combination of fork and toothbrush works very well! Take care to hold the cords tightly in a bundle as you brush them, just to avoid pulling any threads out; if you find they are slipping, adding a little more hot glue inside the bundle where it meets the hat should solve the problem.
- Give the beard a final trim, and voila! A neutral gnome! Find all about the Scandi tradition of nisser and gnomes here!